For our first installment in our Fit Project, we’re going to take a look at what’s all involved with fitting on a JDM front end. Before we dive into that matter however, we wanted to welcome some of our sponsors for the project – Fabulous USA, BDL Industries, GTSpec, and Hybrid-Performance.com.
Our first modification to the car was a complete JDM front end. Once it got to our doors we couldn’t wait to install it! Since we’re currently waiting on a complete Fabulous body kit, we decided we’d get the headaches of fitting it on out of the way so once the kit arrives, no time is wasted! Here’s a run down on what’s involved in outfitting the Fit with a JDM front end.
Look towards the Fit getting a full repaint to make our JDM front and Fabulous kit blend with the rest of the chassis. We’ll also have suspension, wheels and tires coming up next… and what will be under the hood? Keep your eyes on the project and find out!
Thanks to our Sponsors:
Zeta Products, BASF, KW Suspensions, Toyo Tires, Hybrid Performance, Fabulous, GT Spec
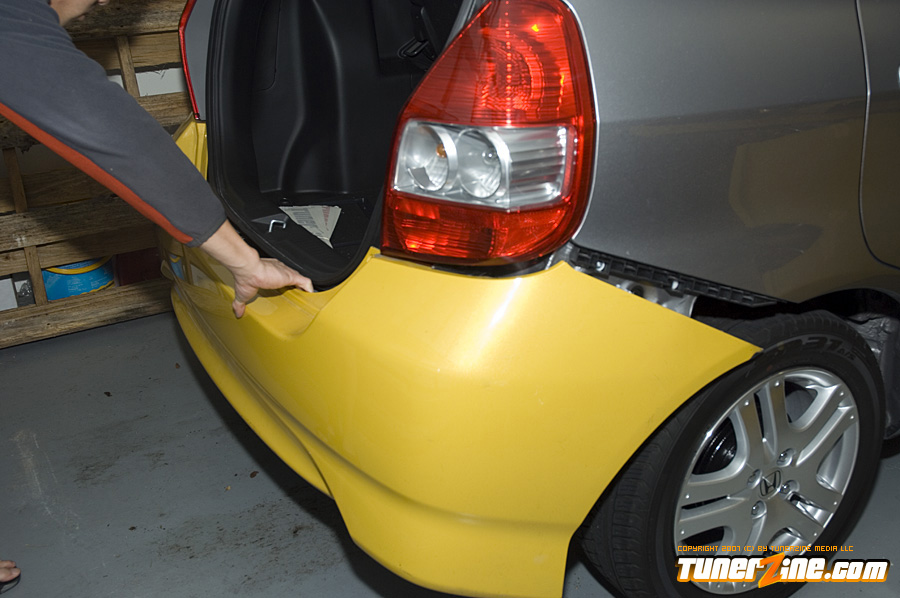
We start of with the easiest install, the rear bumper. The bumper is installed without the USDM rebar, and just snaps in place and attached with 2 screws near the tailight and 2 more tap screws at the wheel well.
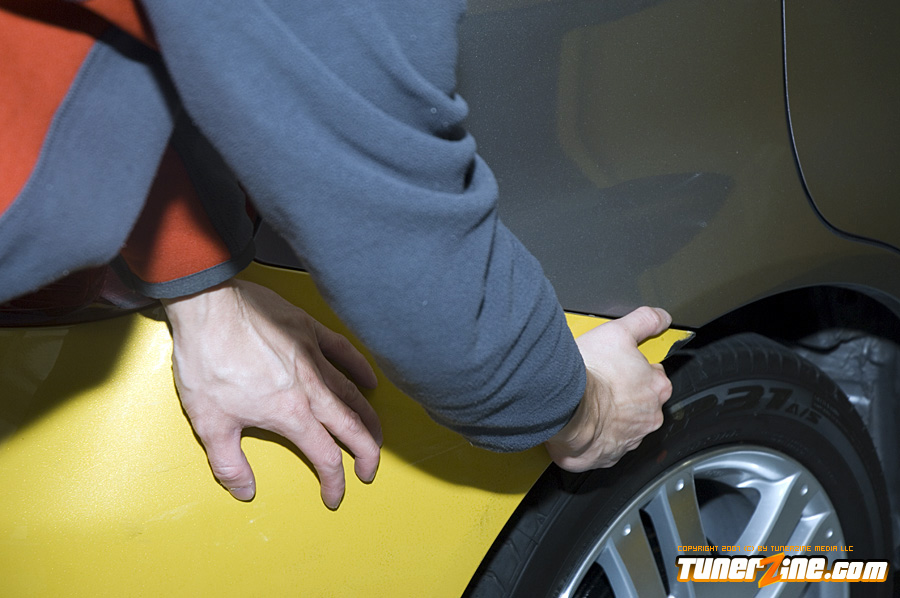
Next we move to the sideskirt which attach with snap in clips, and then held on by 4 screws.
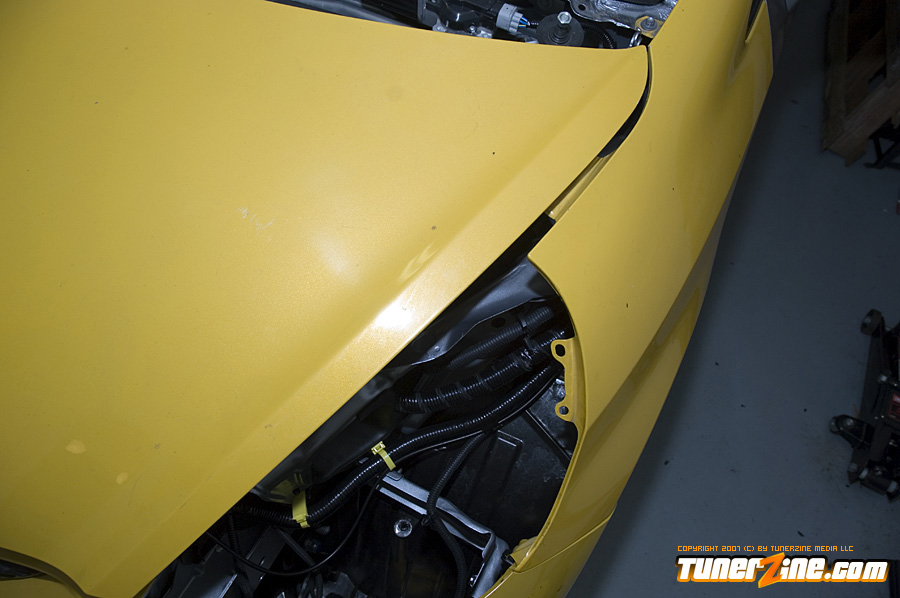
Front fenders are different than the USDM part and will also need to be replaced. The fender is held on by 4 screws.
Here you can see the fitment of the fender which isnt really what we want.. The bracket where the fenders attach to are different and will need to be modified to fit.
Here you can see the bracket which has to be modified for the fender to sit correctly. The bracket had to be bent and pushed down in order for the fender to lineup with the hood.
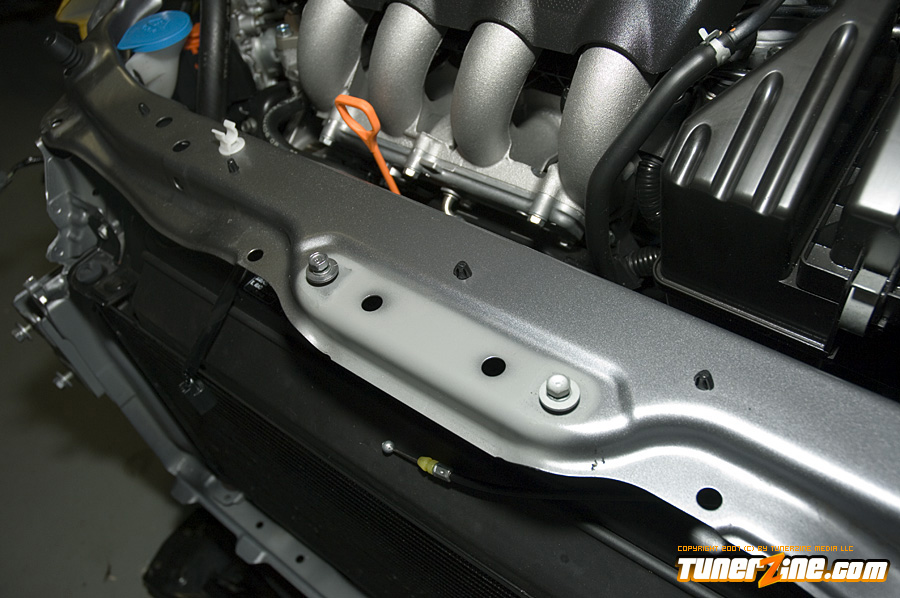
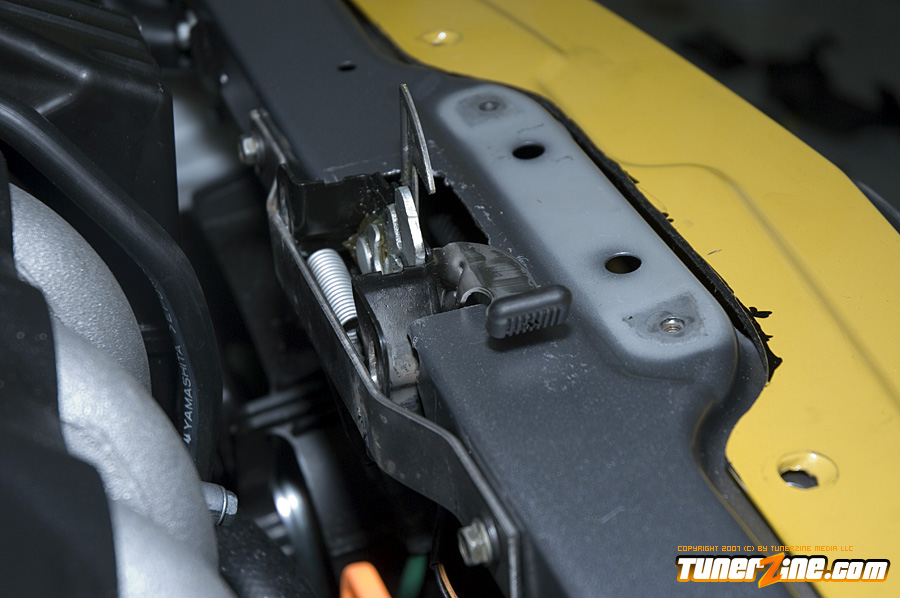
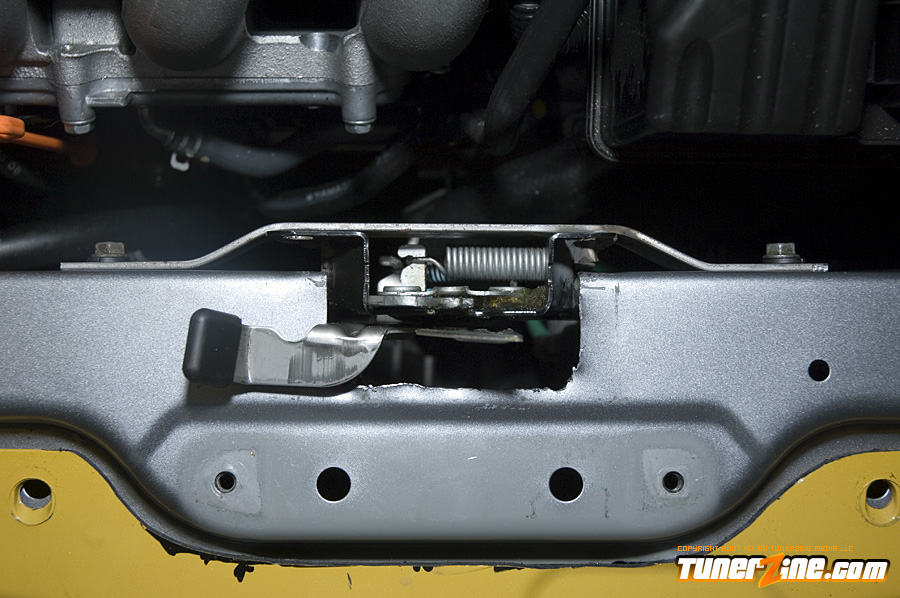
The biggest modification to make the JDM front work is the hood latch.. Because the JDM hood is much shorter than the US, the latch will need to be relocated in order for it to work properly. We had to cut into the radiator support and fabricate a bracket which holds the latch in place. One thing to mention also the stock hood prop rods, hold will have to be relocated also, as it will interfere with the latch.
The JDM rebar is much smaller than the usdm version. Only the bottom bolt hole will lignup and another will need to be drilled in order to attach the rebar to the frame.
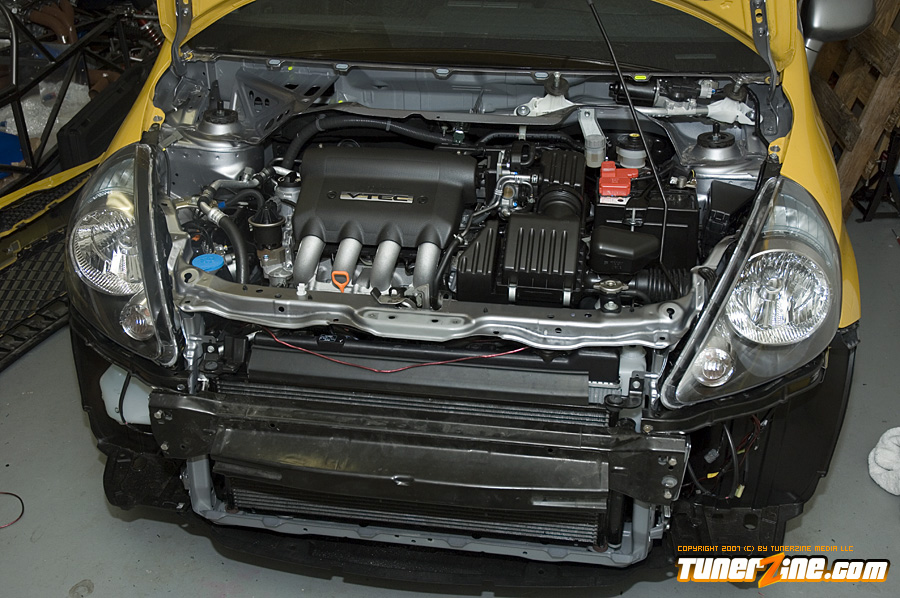
Here’s a pic with everything lined up and ready to go. We will have more pics of the completed product once we have the kit installed so stay tuned!
Gallery